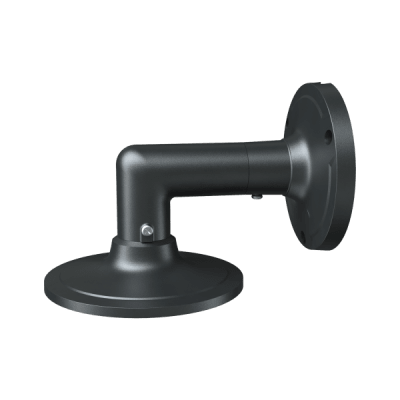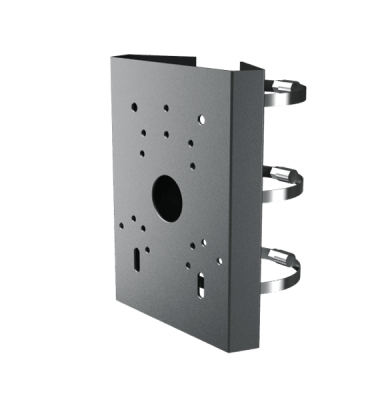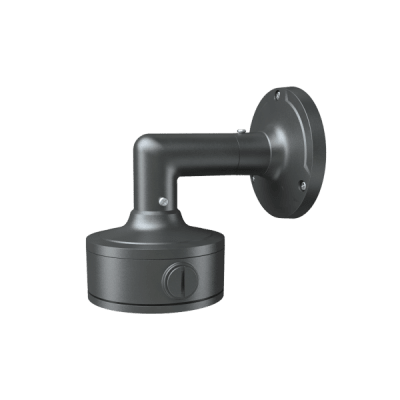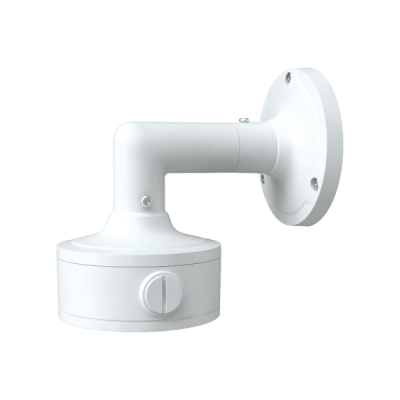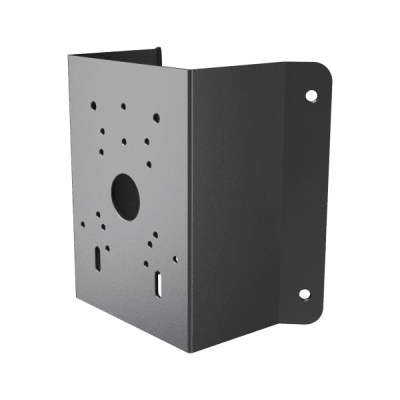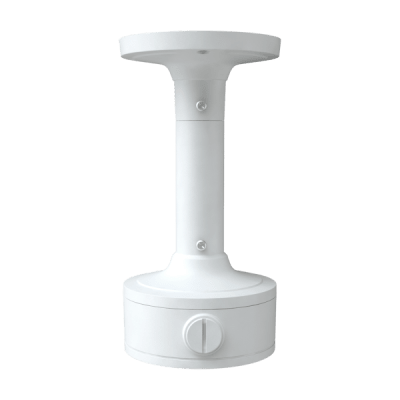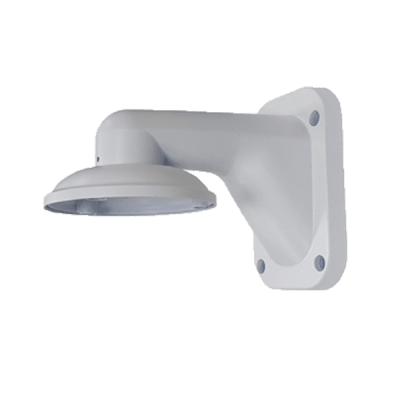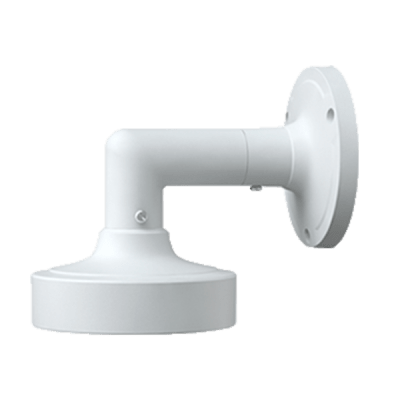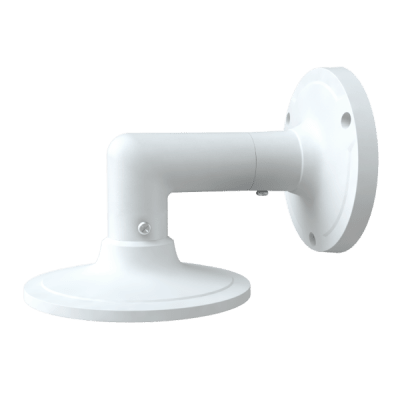
Surveillance camera mounts position and support cameras on walls, ceilings, poles, corners and pendant drops. The correct mount does more than hold the camera: it provides the required viewing angle, manages cable entry, preserves environmental sealing and safely transfers the camera load to the building structure.
Match the mount to the exact camera series, mounting surface and orientation. Confirm load capacity, hole pattern, adjustment range, environmental construction, cable-routing method and any required adapter or junction box.
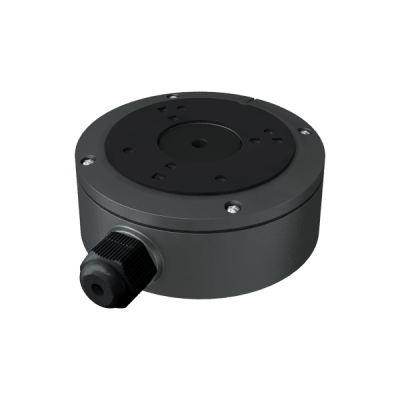

Fixed wall arms and ceiling mounts are common for bullet, dome and PTZ cameras. Determine whether the mount provides the required standoff and aiming clearance and whether cables can be concealed through the bracket or must enter externally.
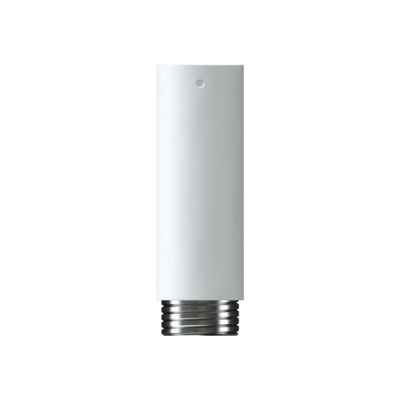
Pendant kits lower cameras from ceilings or overhangs, while pole and corner adapters solve locations without a flat wall surface. These systems often use multiple compatible pieces, so verify the full mount stack from camera to structure.
PTZ cameras can be heavier and create dynamic loads as they move. Use mounts specifically rated for the camera family and follow manufacturer attachment requirements. Improvised brackets can introduce vibration that degrades zoomed images.
Mount interfaces are potential water-entry points. Gaskets, cable glands and junction boxes should maintain the environmental rating of the camera assembly. Coastal, washdown or industrial areas may also require enhanced corrosion resistance.
A good mount provides a protected path for Ethernet, coax and power wiring with suitable bend radius and strain relief. Leave enough service loop for maintenance without creating exposed loops that can trap water or be easily damaged.
When replacing a camera, do not assume the existing mount will fit a newer generation. Compare mounting pattern, adapter plates, weight and sealing arrangement. In standardized sites, choosing a mount family with available adapters can reduce future labor.
Concrete, masonry, steel, wood framing, ceiling grid and poles all require different anchoring methods. Fastener selection should consider camera weight, wind loading and substrate condition. For exterior work, seal penetrations and orient cable entries to reduce water intrusion. On hollow walls or ceilings, use structural backing rather than relying on finish material alone.
The mount should allow the installer to reach the desired pan, tilt and rotation without putting the camera at the end of its adjustment range. Leave enough clearance to remove domes, covers or memory cards. For PTZ units, verify that nearby walls, soffits or poles do not obstruct rotation or create IR reflection into the lens.
For a replacement or new installation, send Wallco the equipment model, system type, electrical or network requirements, installation environment and any compatibility constraints. The more application detail provided, the easier it is to narrow the correct product family and avoid a physically similar but incompatible part.