
Speaker installation accessories are the hardware and interface components that turn a speaker selection into a complete, serviceable installation. Mounting brackets, grilles, back cans, tile bridges, rigging hardware, volume controls, terminal hardware and related accessories can affect safety, acoustic performance and how easily a system can be installed or maintained.
Choose accessories by the exact speaker model, mounting surface and installation method. Many brackets, back cans and grilles are model-specific; similar appearance does not guarantee dimensional, load or acoustic compatibility.
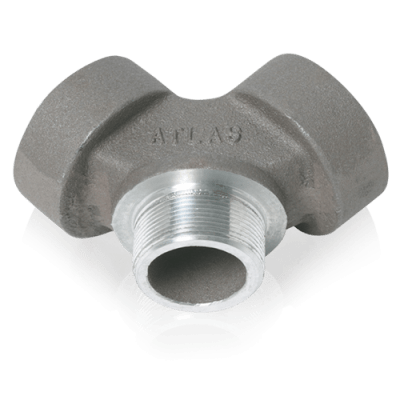
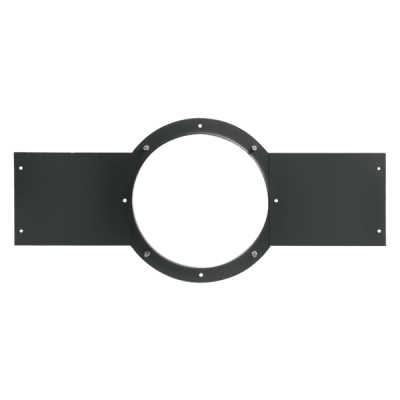
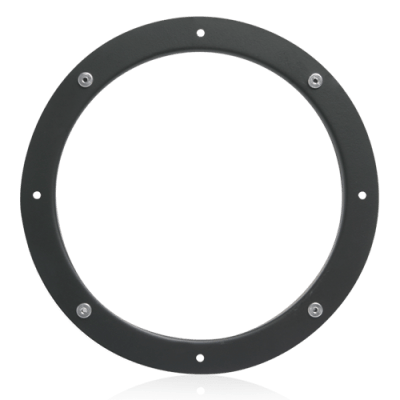
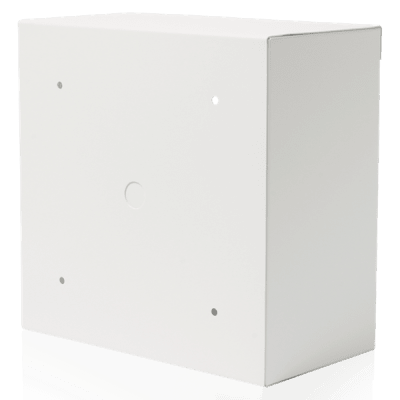
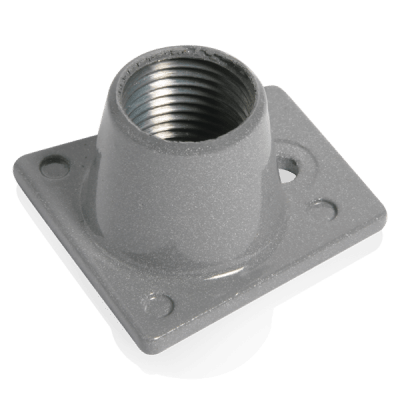
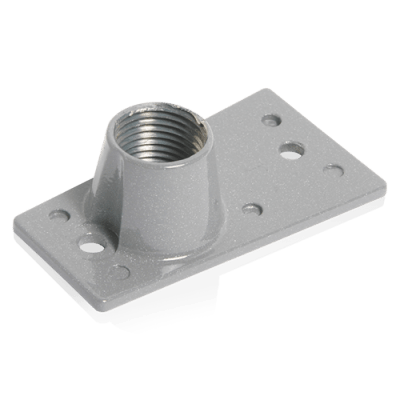
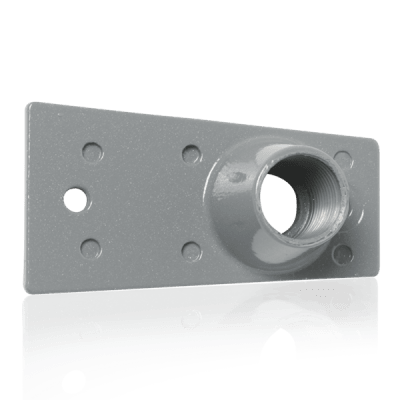


Wall and ceiling speakers may require dedicated U-brackets, surface brackets, pendant kits, safety cables or rigging points. Verify the supported speaker model, load rating, adjustment range and fastener requirements. The building structure—not only the accessory—must be capable of supporting the installed load.
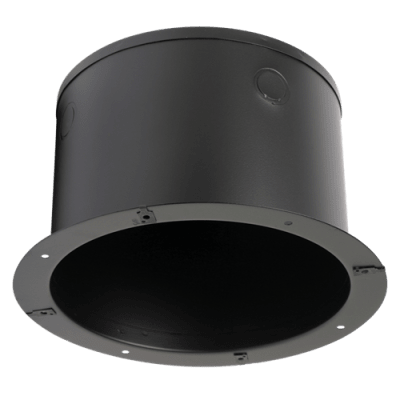
In-ceiling speakers may use back cans or enclosures to provide mechanical protection, help control sound transmission and satisfy installation requirements. Tile bridges distribute weight across ceiling grid systems and help keep the speaker properly supported instead of relying on a ceiling tile alone.
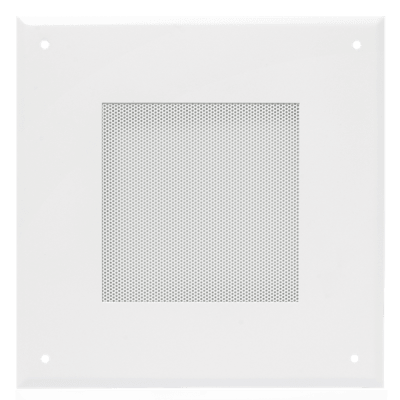
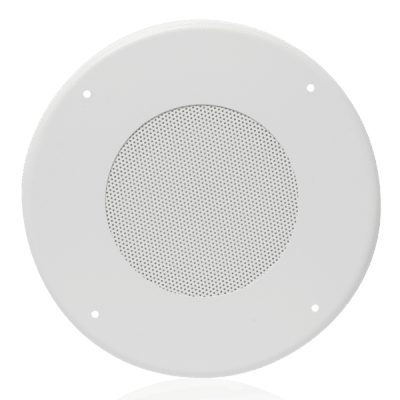
Replacement grilles, trim rings and covers should match the speaker dimensions and attachment method. In architectural installations, finish and paintability may matter as much as fit. Outdoor or corrosive environments may require materials or coatings that are more durable than standard indoor accessories.
Wall-mounted volume controls and transformer attenuators are used in many distributed audio zones. Confirm system type, power rating, impedance or 70 V/100 V compatibility, number of channels and control range. An incorrectly rated attenuator can overheat or restrict available output.
Terminal blocks, barrier strips, quick-connect hardware and junction accessories should match conductor size and current requirements while allowing reliable service. Clearly labeled and accessible connections reduce troubleshooting time when speakers are added, replaced or re-zoned.
Before ordering, verify speaker model, mounting orientation, environment, ceiling or wall construction, required adjustment, finish, cable routing and any local code or seismic requirements. Model-specific manufacturer accessories are usually the safest choice when structural fit or certification matters.
Accessory requirements should be identified during speaker selection rather than after the speakers arrive. A ceiling speaker may need a back can, tile bridge, support wire and volume control; an outdoor cabinet may need a wall bracket, safety tether and weather-protected junction point. Building the accessory list from the mounting condition prevents field improvisation and reduces the chance that a technically correct speaker cannot be installed as intended.
Many audio manufacturers reuse similar-looking brackets and grilles across multiple speaker families, but dimensions and attachment points can change between generations. For replacement work, capture the exact model number from the speaker label and compare the accessory compatibility list. If the original accessory is discontinued, determine whether the manufacturer provides an approved superseding kit before substituting generic hardware.
For a replacement or new installation, send Wallco the equipment model, system type, electrical or network requirements, installation environment and any compatibility constraints. The more application detail provided, the easier it is to narrow the correct product family and avoid a physically similar but incompatible part.